In this installment, I’d like to share the things I learned in attempts to grow on a property in which wildlife has free reign. How do you protect your garden against rapacious herbivory? Well, let’s start with a least one approach here!
Raising the Bar
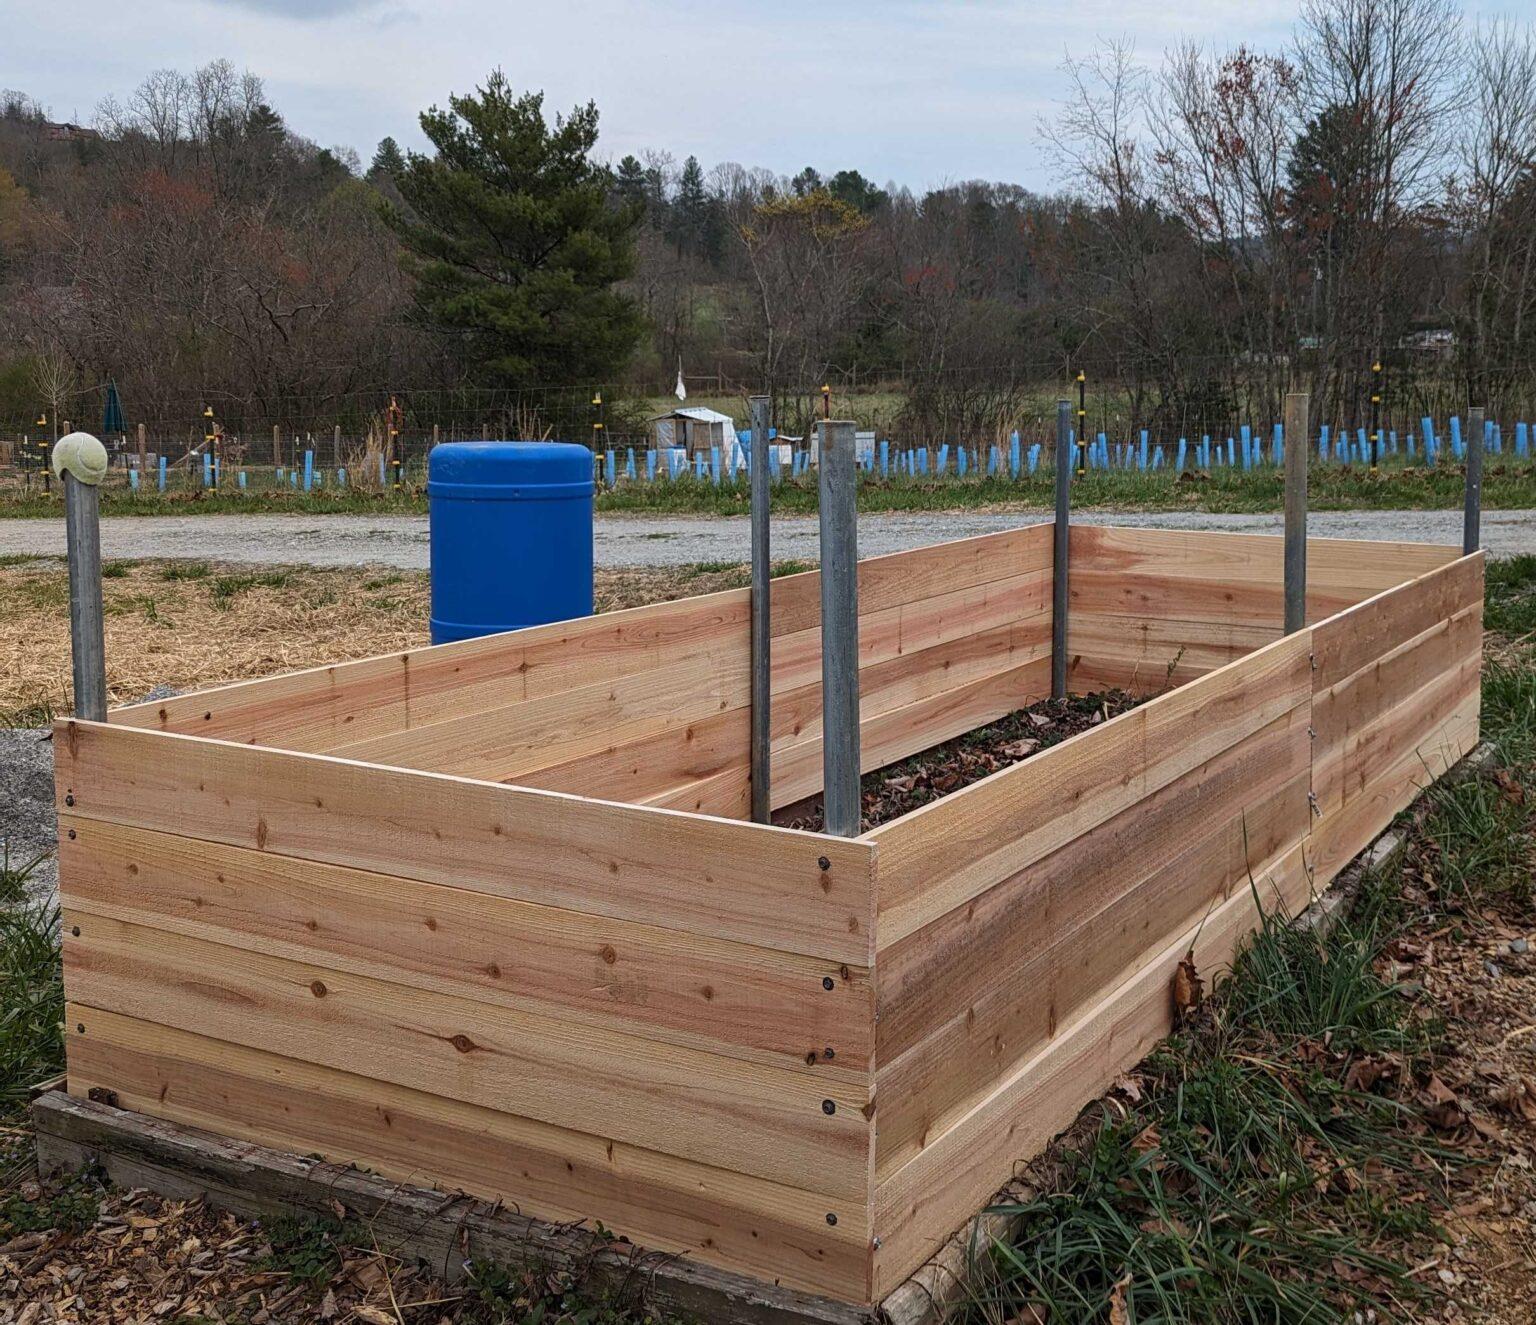
Raised beds have certain advantages for us. First off, they create a garden that is more or less waist height, which has as an advantage of doing away with bending over to work the bed. Just as important, if not more so, it is a barrier to groundhogs and rabbits, of which we have a fair share. Lastly, the structure lends itself to being fitted with netting for bird protection, but this latter installation can wait until berry set.
Picking the Lumber
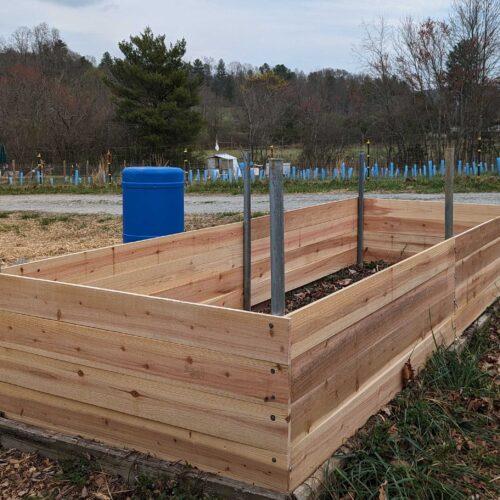
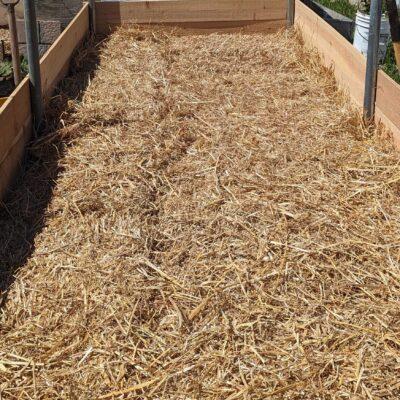
I used cedar pickets to frame the raised bed. Cedar is costly to build with, but cedar fence pickets are affordable and are an alternative to pressure treated lumber. The dimensions of our raised bed are 4 by 12 feet. Rather than fill with soil, which is fairly heavy (and hard work), we opted to fit in 12 bales of wheat straw.
The Quick Straw
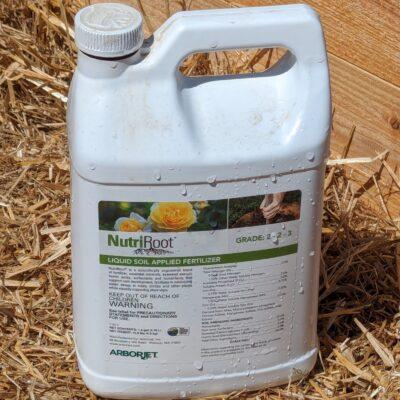
Wheat straw is primarily carbon, and we were interested in getting fermentation (or composting) started. So, we drenched the bales with NutriRoot, as it has a few necessary ingredients: Hydretain, a moisture absorbing molecule (straw bales are prone to drying), and nitrogen. Straw is approximately 40% carbon, so the added nitrogen is required to feed the microbes break down the straw. Four gallons of a 1% NutriRoot solution was added to each bale for a thorough soaking.
Adding Amendments
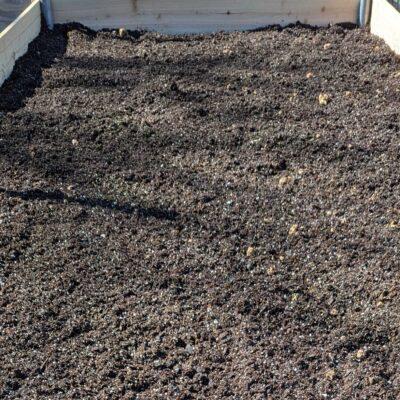
Next, we added four inches of mushroom compost. I elected to use mushroom compost because an associate of mine has an organic, indoor mushroom farming operation. You can use any good organic material as long as it is well composted. The mushroom compost is light weight (compared to soil) and is high in organic matter that here is used as the “sub-soil” layer.

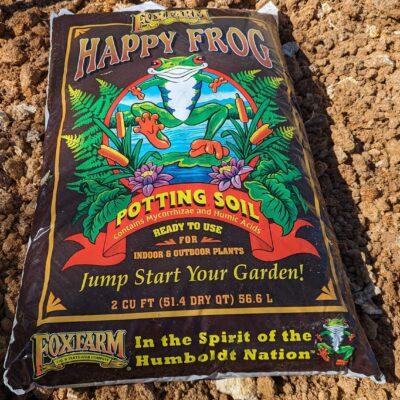
A top-dressing of one inch of Happy Frog soil conditioner was added next. I added the Happy Frog for the added humic and beneficial microbes it contains, including mycorrhizae.
Planting Bare Root Strawberries
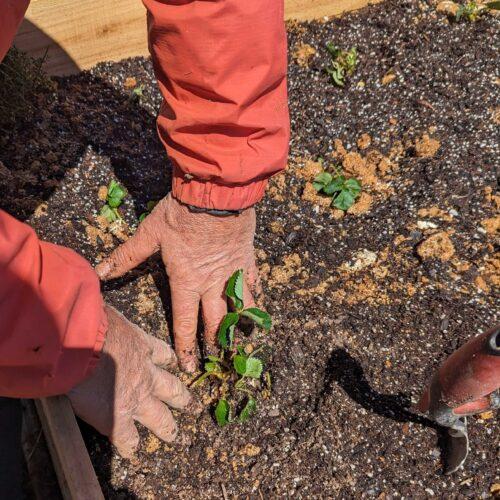
The bed was now ready to plant, and we put in bare root June-bearing strawberries, placed one for every twelve inches. The dug plants were placed in 5-gallon buckets with a solution of CytoGro, a seaweed extract, prior to planting. This particular product is high in cytokinins, which enhances cell division. In this case, I was interested in new root initiation. Cytogro was diluted to a 0.25% solution.
The Last Straw
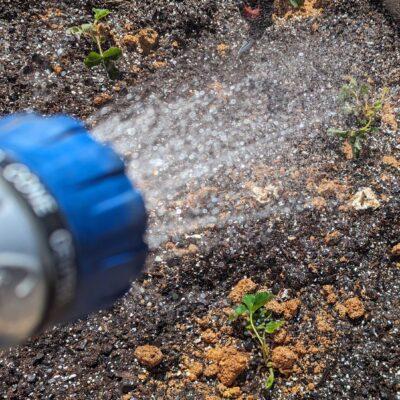
We then mulched the strawberries in what else? Straw! The straw keeps the ripening berries off the soil, to reduce the potential for rot. Lastly, we gave the plants a good drenching.
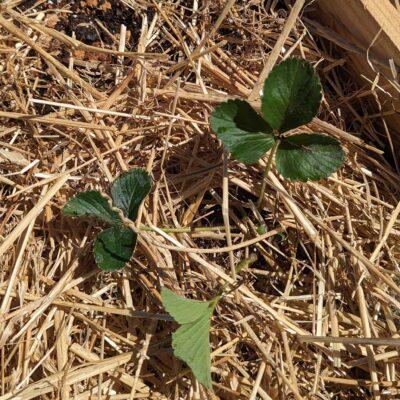
As we get into summer, things heat up! So, we’ll likely consider in our next blog summer garden management including weed and water management.
~ Signing off for now, Joe

