You can think of the fall garden as the beginning of the winter harvest! Many of the crops sown in late summer can be harvested over the winter months – with winter protection, of course!
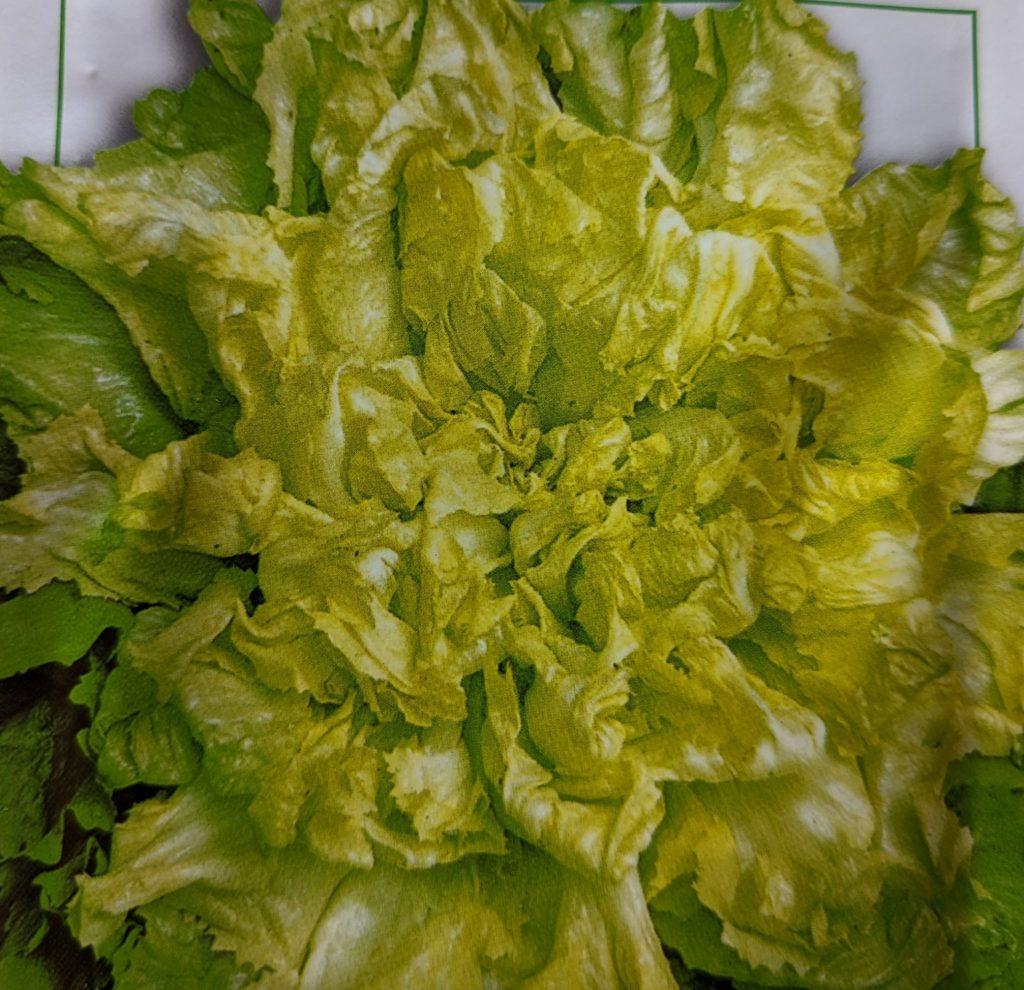
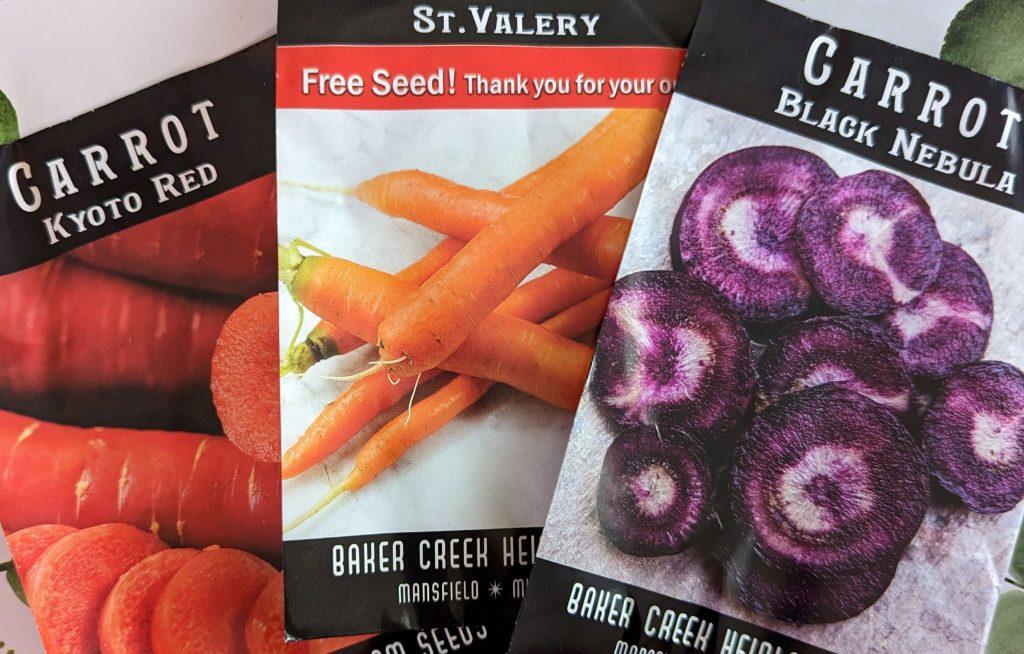
Among the cool weather greens to grow include arugula, carrot, chicory, endive, dandelion, lettuce, mâché, mizuna, parsley, radicchio, radish, scallion, spinach, Swiss chard, and tatsoi.
Prepare the planting bed with a layer of well-composted compost. Sow seeds, and keep them well watered until they germinate. Thin your crop, then cover when the nights get cool and the days shorter. Do this before the first expected frost date in your area.
There are a number of ways to protect your crop over the wintry months. Your garden grows when there is plenty of sun and moisture. But what happens in winter when the sun is lower in the sky and the days shorten? Well, growth slows to a virtual stop. The crops I listed will overwinter. The winter season is a time not so much to garden, but to harvest what you’ve grown. Think of the winter garden as your green grocery. The cool season crops can take the cold weather of winter, but they will do well when protected from wind. Wind chill is the killer! When the soil freezes, cold winds will desiccate foliage (called winter burn or winter injury). So, plan on protecting your crop.
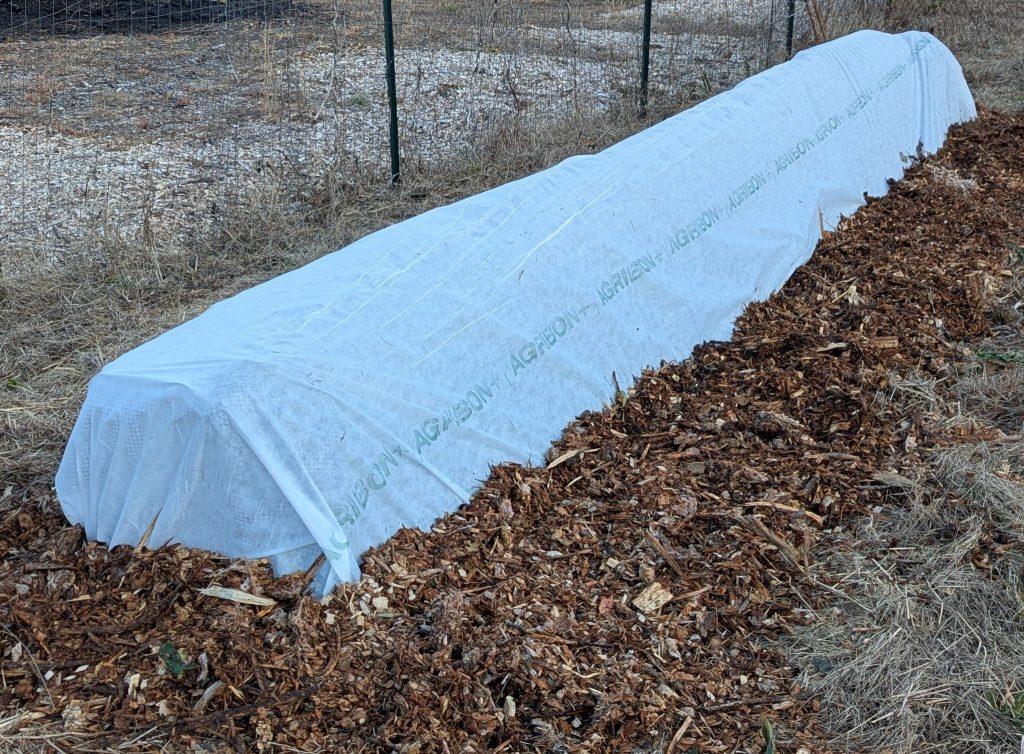
There are a number of simple builds to protect crops over the winter. In Zone 7, where I now grow, a low hoop structure and spun bond polypropylene fabric will suffice. In Zone 5, where I have gardened, a floating row cover and hoop structure with plastic cover combined insures a good winter harvest.
Building Winter Protection
These builds don’t have to complicated structures, but rather simple in design and function. Let’s consider the low tunnel, cold fame, hot bed and high tunnel as horticultural builds to grow and protect your gardening efforts.
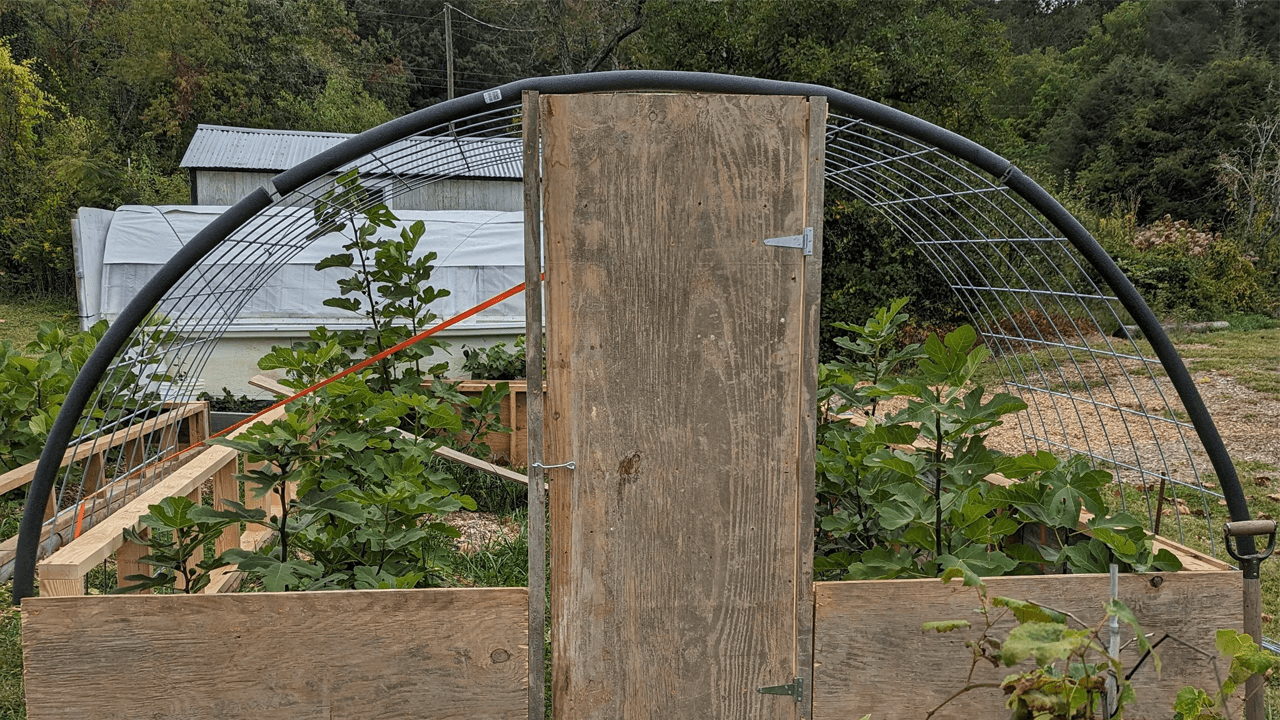
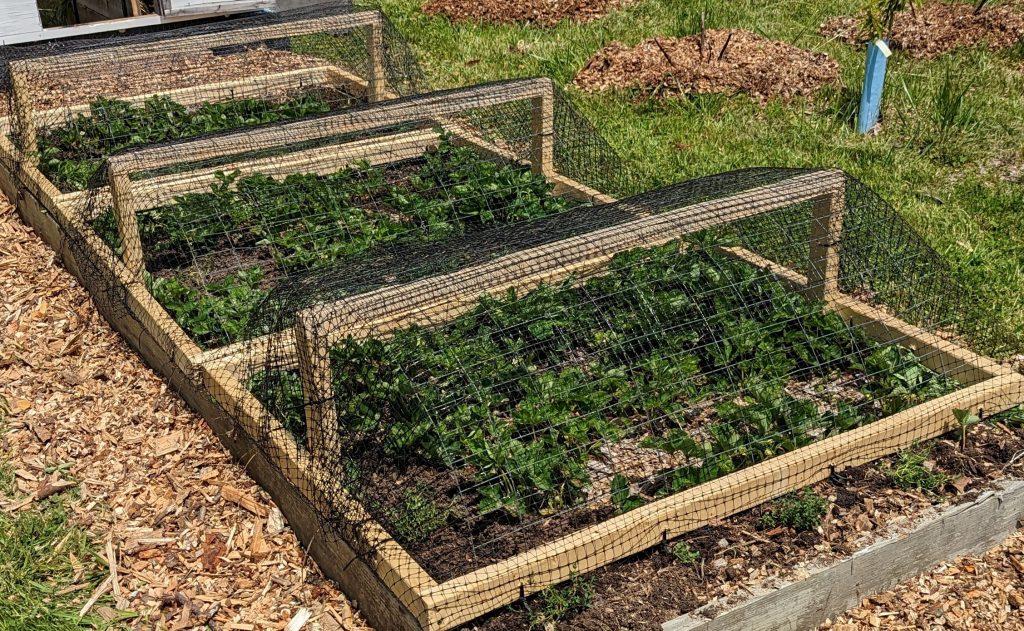
The Low Tunnel
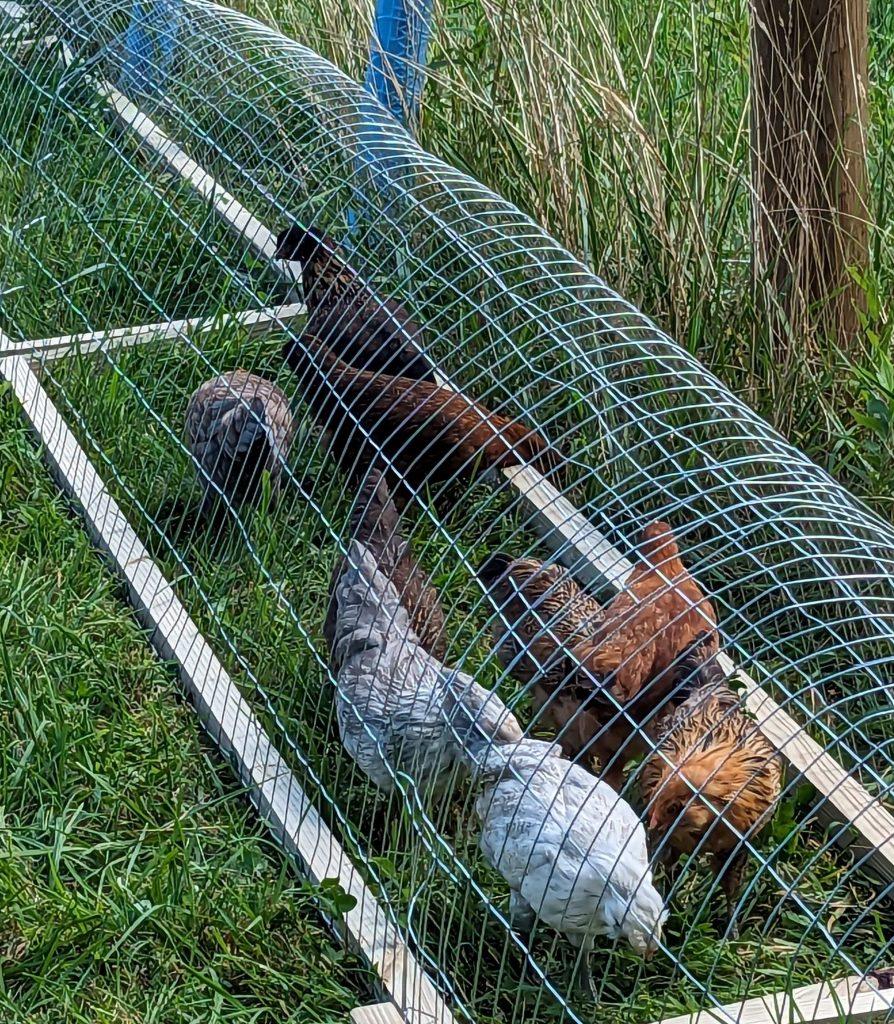
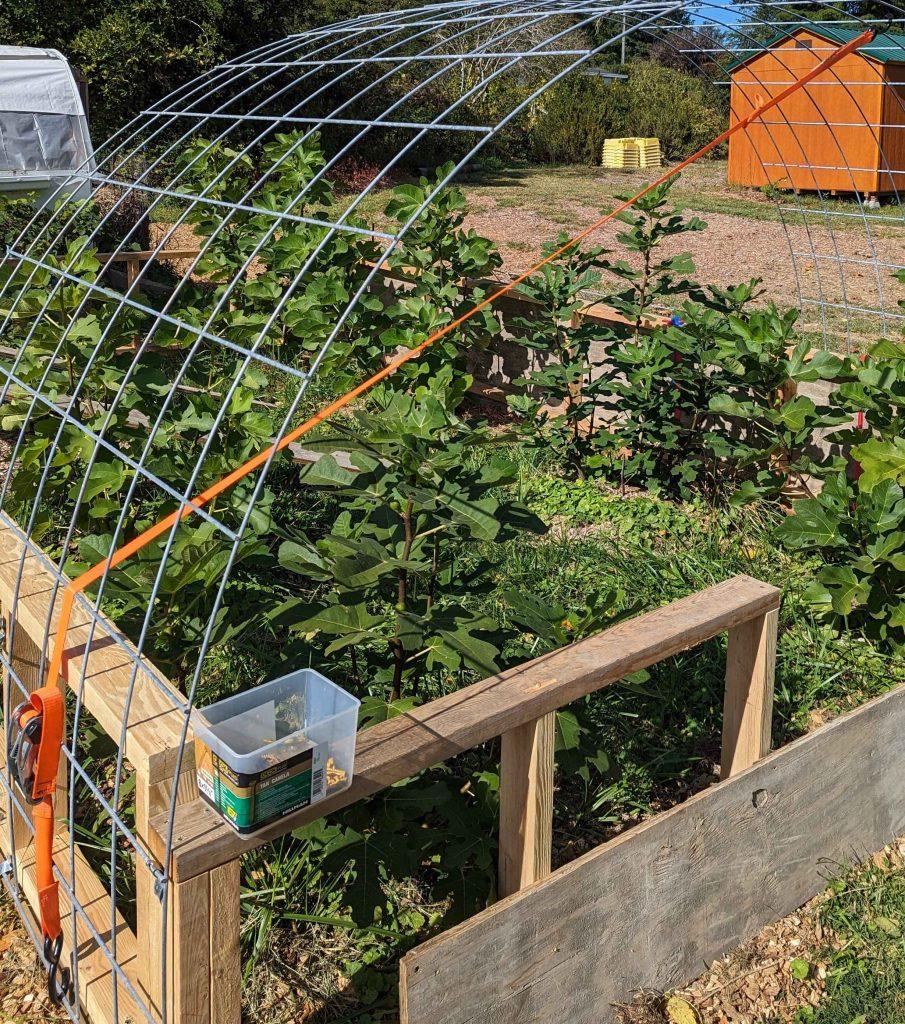
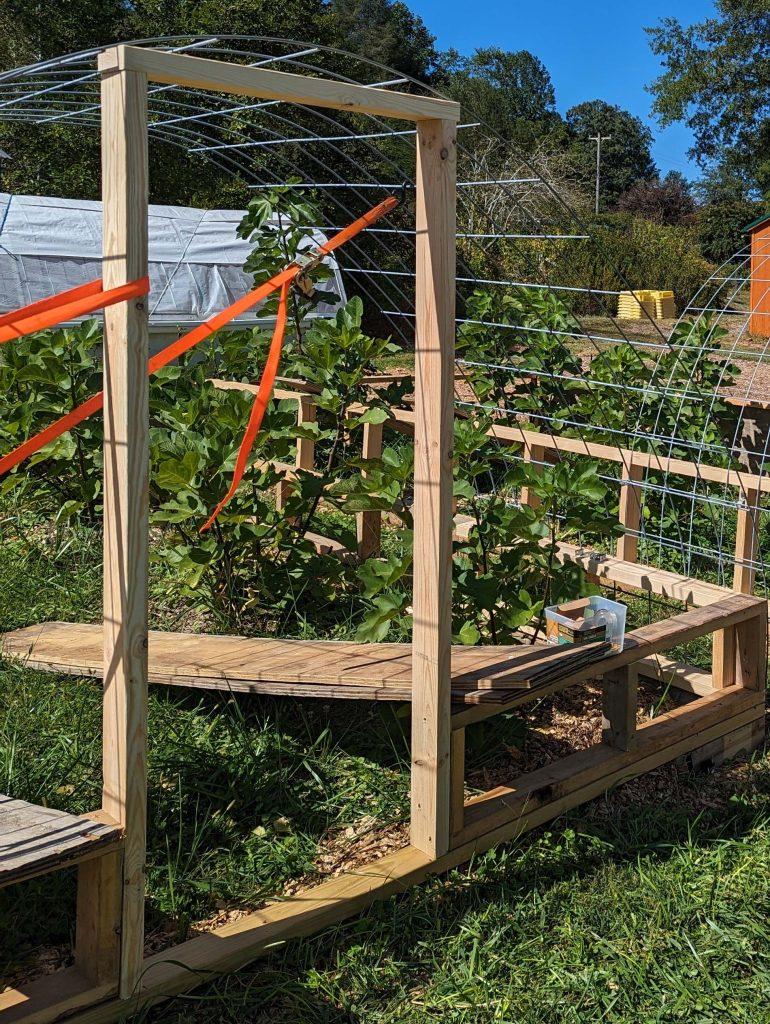
To build a low tunnel, rip two 8-foot 2×4’s lengthwise on a table saw to form 2×2’s. Cut one of the 2×2’s to 24” lengths to form the end pieces. Screw these to the 8’ lengths to form a rectangle. To this base, attach a 4’ weld wire fence using screws and fender washers. Bend the fence over to form a hoop, and attach using screws and washers. Cover the low tunnel with clear plastic (UV stabilized is best) or spun bond fabric. The advantage of the latter is that it will allow moisture in when it rains, and is breathable and won’t overheat. If using plastic, you will need to pay attention to soil moisture and temperatures, particularly in the fall and spring months. It’s important to keep the fabric or plastic off plants to avoid freezing, hence the build discussed.
Cold Frames
An alternative build is the cold frame. It is a simple construction as well. The back side of the frame is constructed from 2×12” lumber, the front from 2×8” lumber. The difference in lumber dimension makes for a sloping frame which when oriented east – west provides the best light for plant growth. Old windows may be used for glazing. 1x2x18” pegs with several notches cut into it are used for ventilating during warm days. If your build uses Lexan glazing, an automatic venting arm can take the place of manually propping open the cold frame.
The Hot Bed
You can turn the cold frame into a hot bed to start seedlings in early spring. The traditional hot bed requires some digging. Dig the frame down to 16”. From a local stable, get enough fresh horse or cow manure to fill the frame 12 inches. Top dress with 4” of the soil that you previously removed. The heat of decomposition generates sufficient warmth to germinate seeds of the summer garden such as tomatoes, peppers and eggplants. Once the weather warms, the seedlings are transplanted to the garden bed. An alternative method is to use heating cables to provide bottom heat to get your seedlings started.
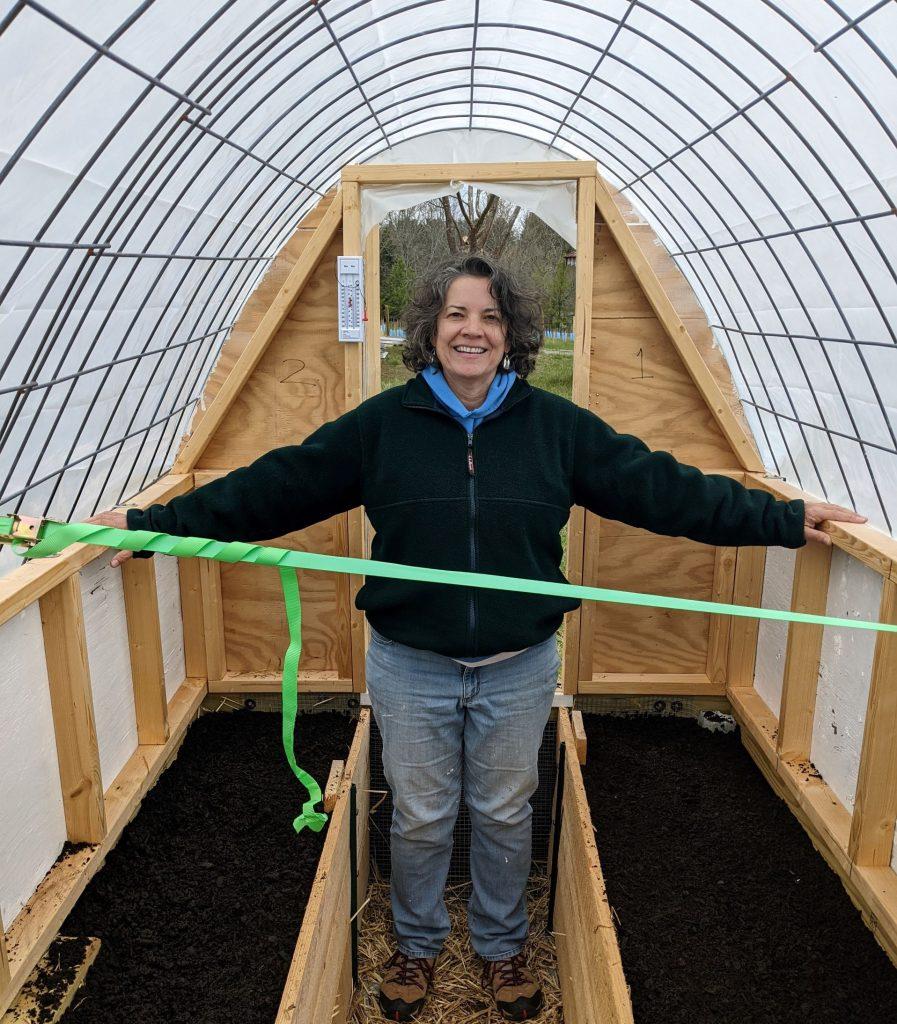
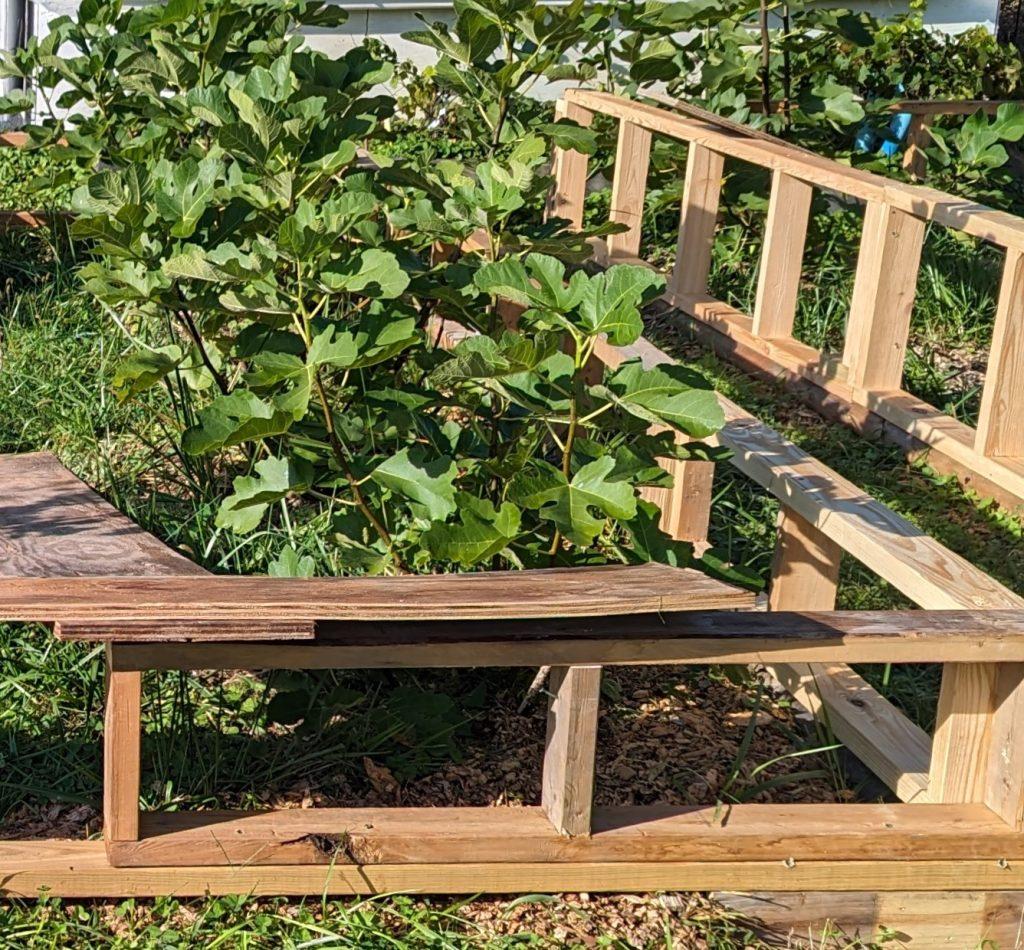
The High Tunnel
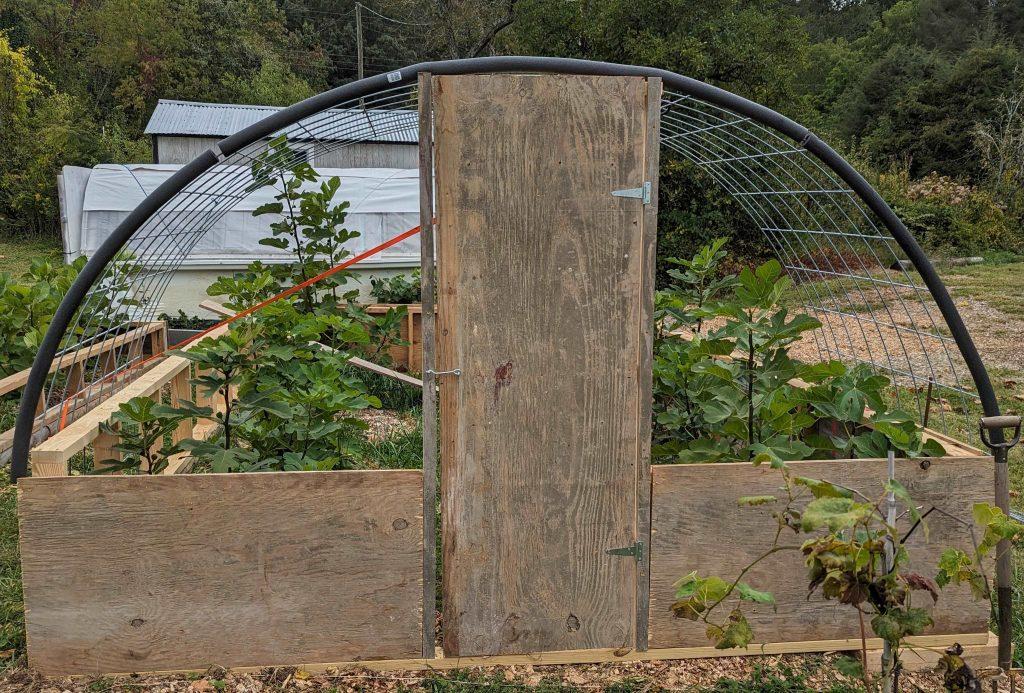
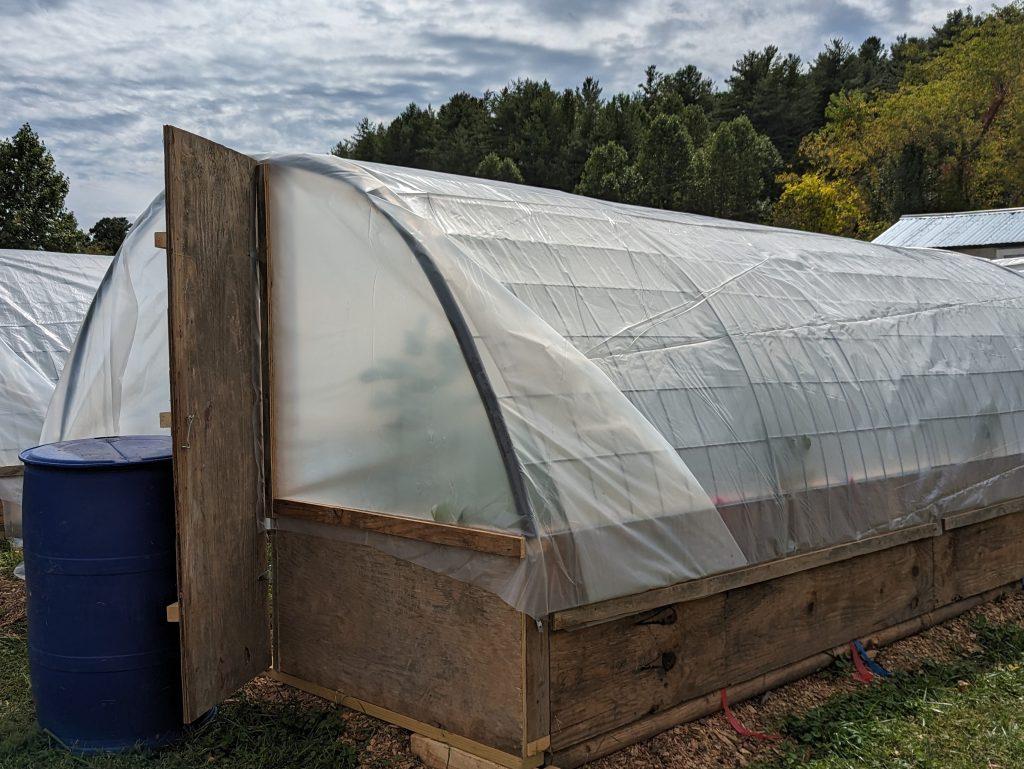
In colder regions, adding a high tunnel over the protected planting is advisable. This structure can be built using a perimeter of 2×12” lumber, framed in lengths of 4’ intervals with a width of 10 feet. Alternatively, use 2x4s to frame the base of the structure, as illustrated here. Using 50” x 16’ cattle panels for the hoop structure will make a high tunnel of 6 feet, which will give you some head room! On one end, frame a door, and on the other, a window vent. Cover with UV stabilized clear plastic, which ought to last three seasons. If using plastic sheathing that is not UV stabilized, you will need to replace the cover yearly. Our high tunnels are 20’ in length.
With these simple structures, you can extend the harvest into the winter months. Over the winter, there is little gardening to do. It is a time to harvest and enjoy the fruits of your labors the previous fall and to look forward to the next growing season!
Next week we’ll discuss additional ways to grow vegetables during the winter.
~ Signing off for now, Joe