Out of doors, as early as your soil can be worked, sow onions and snap peas. If frost threatens once your plants are up, add straw mulch for protection.

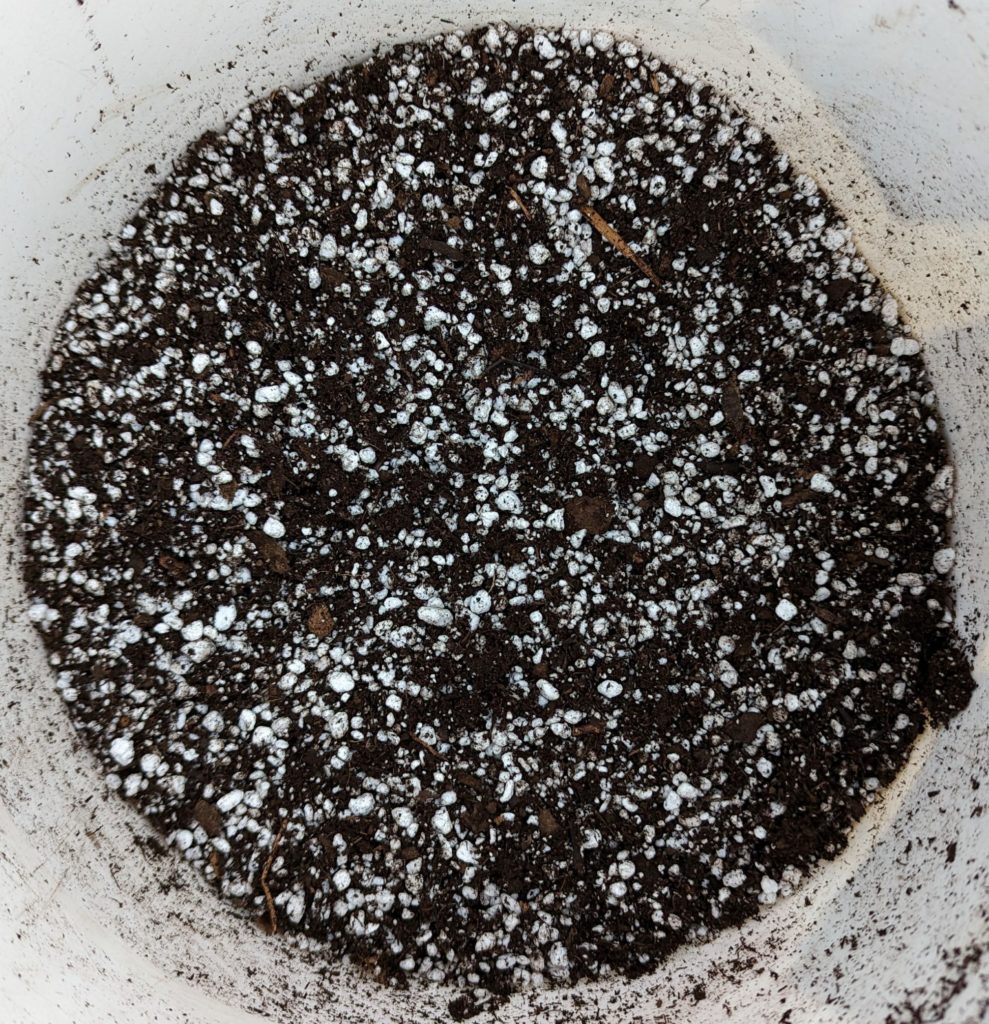
Our red potatoes decided to sprout eyes, so I took the opportunity to plant them into buckets. I made up a seed mix of one-third by volume each of moistened peat, perlite and mushroom compost. Pre-drill the bottom of a 5 gallon bucket for drainage, and place 4” of your mix in the bottom. Place your precocious potatoes on the mix (eyes up) and add another 4” of mix. Water in well, and place in a lighted window or under LEDs. With every 4” of green growth, add additional mix to just cover the stems. Normally, you chit potatoes, which is to cut them into halves or quarters and allow to callus over a bit (24-48 hrs.) before planting. Potatoes, unlike tomatoes, peppers and eggplants (other members of the Solanaceae) prefers to grow in acidic soil, and as tubers (seed potatoes) are a bit more cold tolerant that its cousins, so may be set out earlier. However, once growing, I’ll get the buckets out when the weather consistently warms up.

Direct sow into the garden spring greens 2 to 3 weeks before the last spring frost. These include:
- Alliums
- Arugula
- Broccoli
- Brussels sprouts
- Cabbage
- Cauliflower
- Carrots
- Kale
- Lettuce
- Peas
- Parsley
- Radish
- Spinach
About 6 to 8 weeks before average last frost date in your area is the time to start your warm season crops indoors. These include:
- Artichoke
- Cardoon
- Eggplant
- Peppers
- Tomatoes
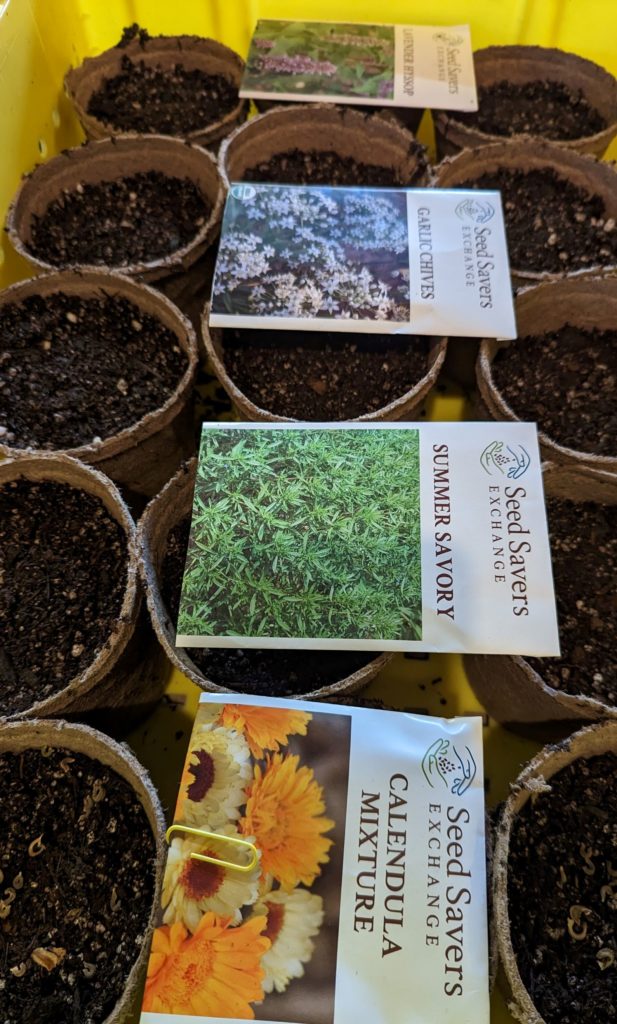
Start herbs and Composite flowers at the same time. Mixing aromatic herbs and Compositae into the garden not only adds interest, diversity and color, these also help to attract beneficials for natural pest control. Examples are:
- Basil
- Calendula
- Chives
- Garlic chives
- Lavender hyssop
- Marigolds
- Onions
- Parsley
- Peppermint
- Spearmint
- Tansy

How to Start
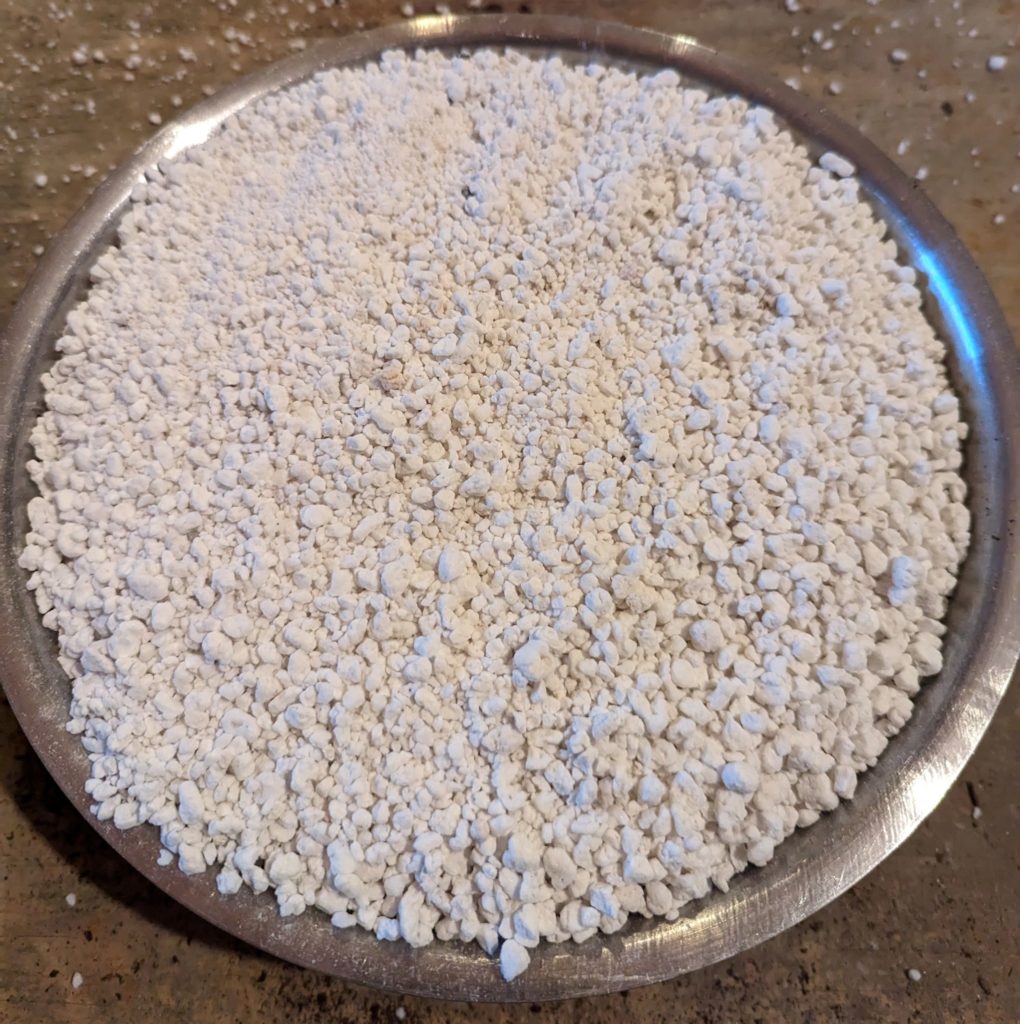
You can buy a seed starting mix or make one. A word of caution: seed starting mix is very different from potting mixes. Many, if not all, potting mixes have a slow-release fertilizer added. Seeds do not need any fertilizer at all. In fact, fertilizers early on can be detrimental to seed starts. Seed starting mixes are often soil-less, made up of mixes of various proportions of peat or coconut coir, perlite, and vermiculite.
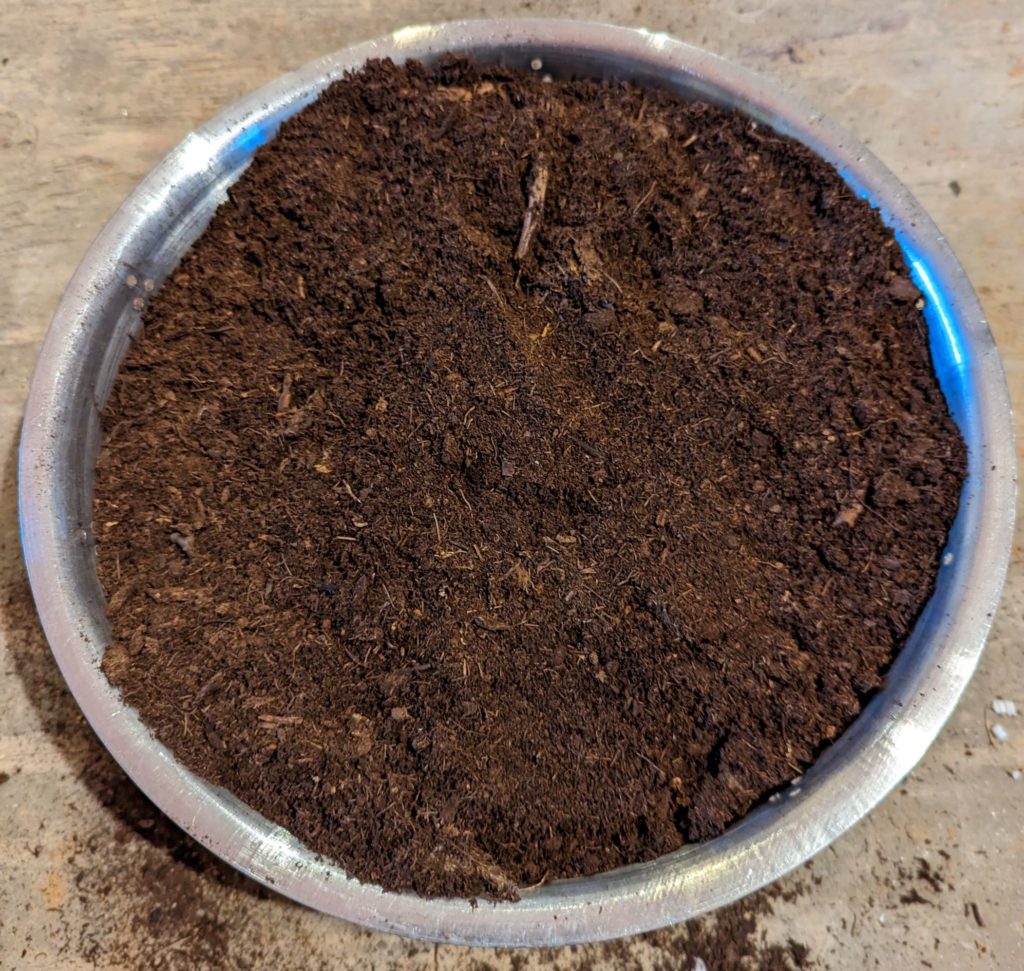
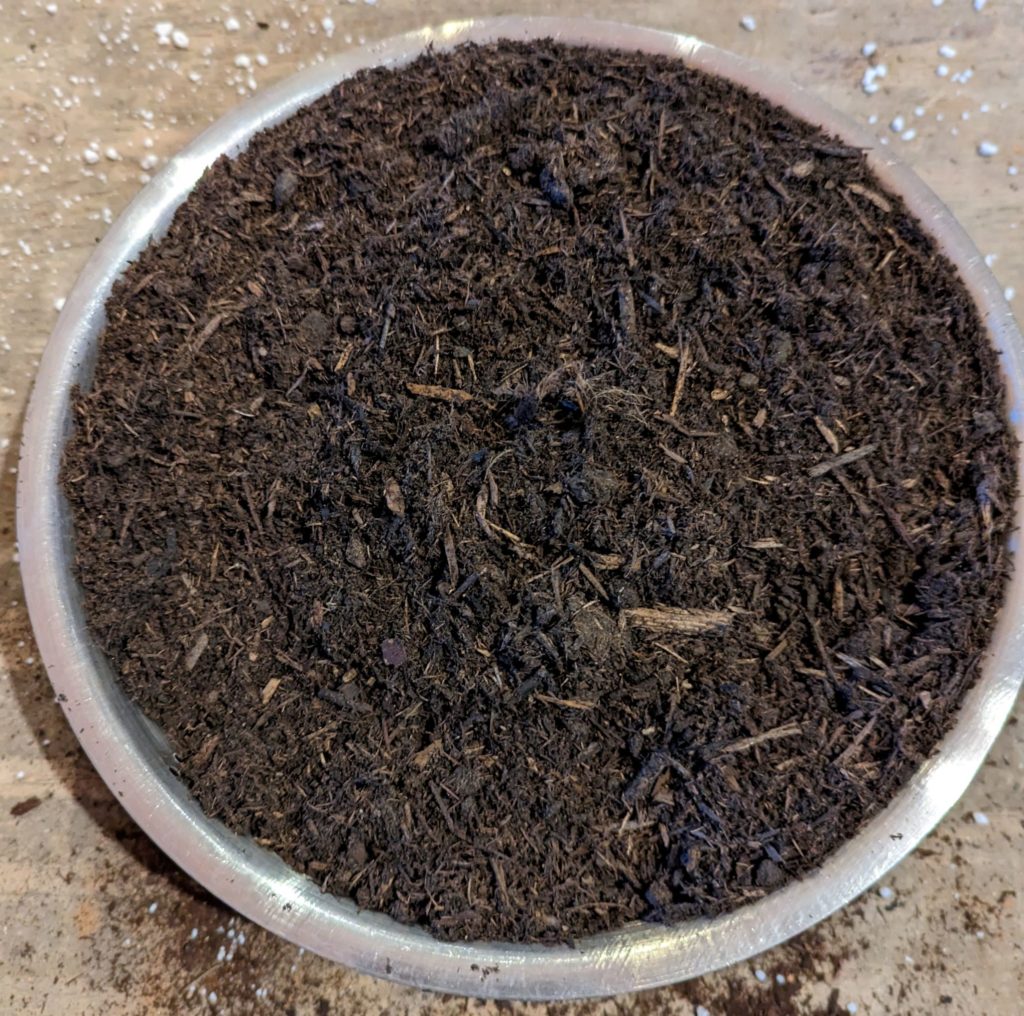
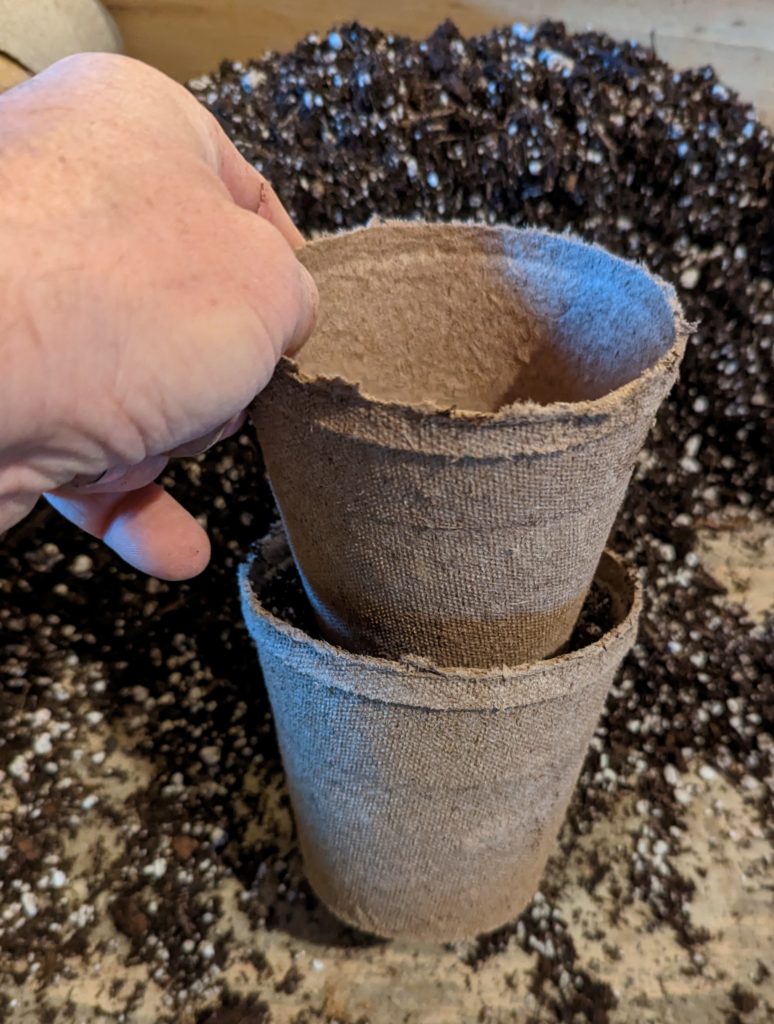
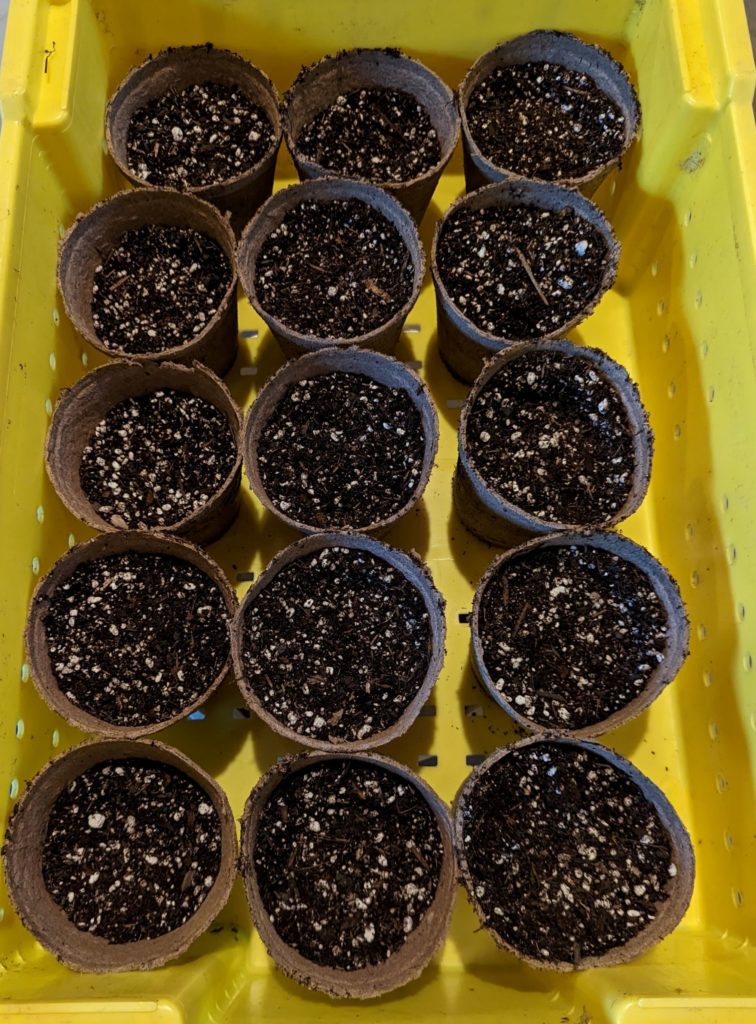
You can make your own potting mix by adding equal parts of each of these elements. When using peat, pre-wet it before making up your mix. I elected to use equal parts moistened peat, perlite and mushroom compost in my mix. Wet and blend well. You may use a seed starting tray or if you have peat pots on hand (as I have), sow directly into the filled pots. Fill the peat pot, tamp down. Next, place the pots in trays and using a watering can (with a breaker) give the mix a nice soak.
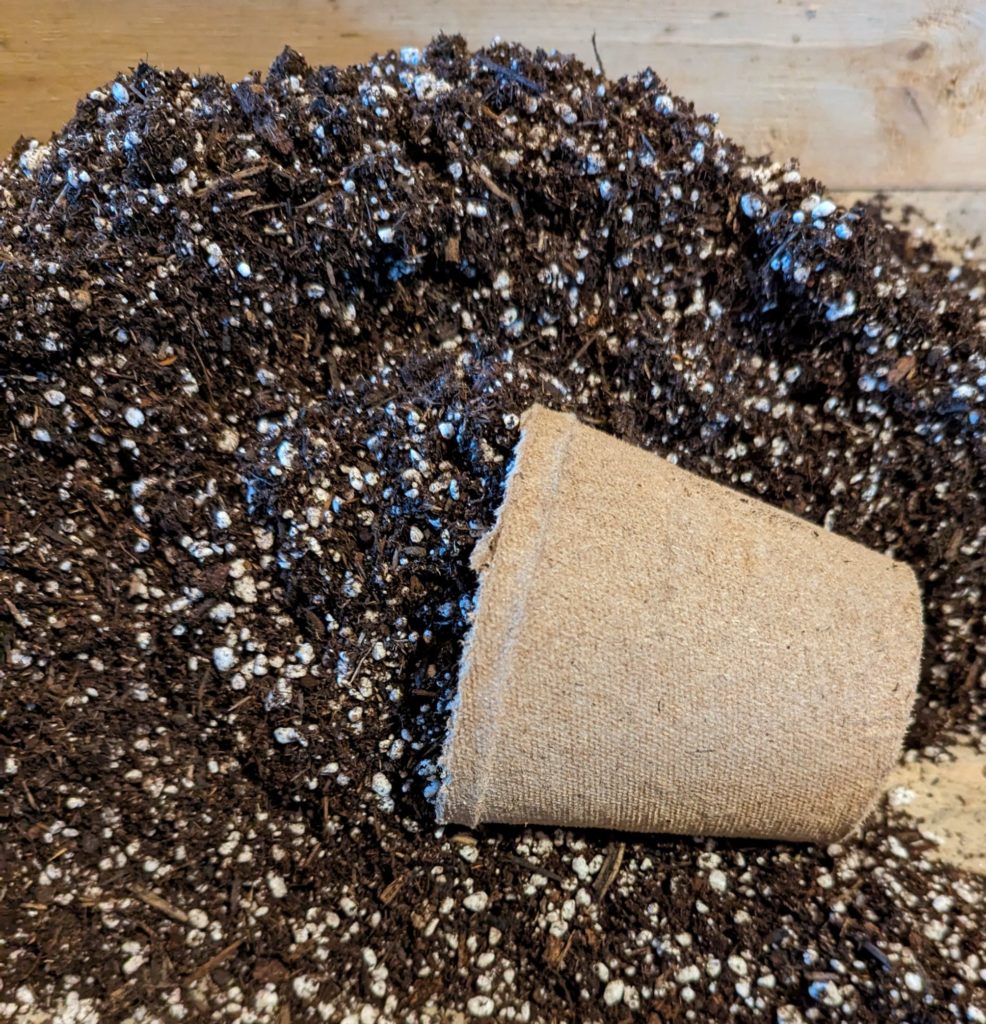
Peat, perlite, and mushroom compost
Filling pots with seed starter mix and tamping it down
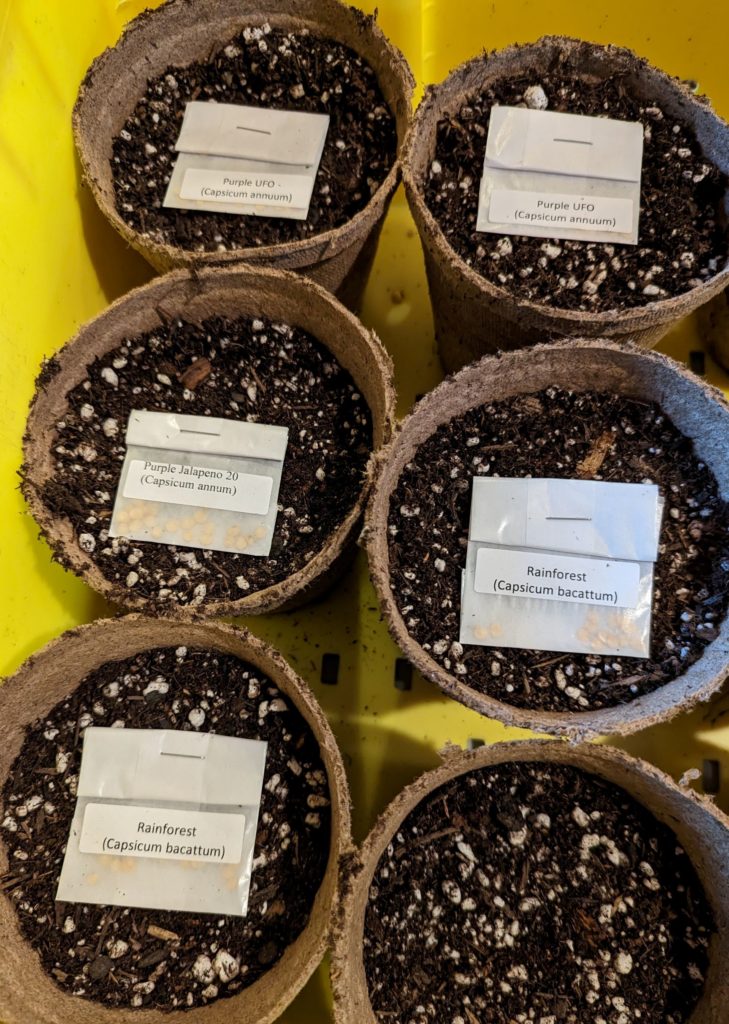
HINT: When opening seed packets, first work the seed into the top of the packet by shaking back and forth. Snip across the bottom to open. If only a portion of the seed is used, and saved, you will know what you have at a future sowing, as you have retained the packet label (which is most often printed across the top of the packet)! Fold the packet and clip or tape closed.

Hot peppers and herbs ready for sowing
Sow seeds no deeper than the size of the seed. Cover with starter mix, tamp down and water in. Label and date each pot.
Pepper plants, especially hot peppers, are difficult to start. They like it warm, and evenly moist for seed to germinate well. On top of that, the seed isn’t long for the world; it has a relatively short half-life. When I get pepper seeds in, I place them in a mason jar and refrigerate them until ready to sow. In the vertical propagation set-up, I placed a heat mat under the seed trays, and a glass pane from an old screen door to maintain humidity. These three elements: viable seed, even moisture and bottom heat (75-85F) taken into account or employed will increase success with peppers. Check that your pots are evenly moist every day or two. For most of your seed, you ought to see germination in a week or two. Once the seedlings have broken through the soil, they will need supplemental lighting for 12-16 hours.

Next time, we’ll consider bed prep tips to get a jump start on the growing season.
~ Signing off for now, Joe